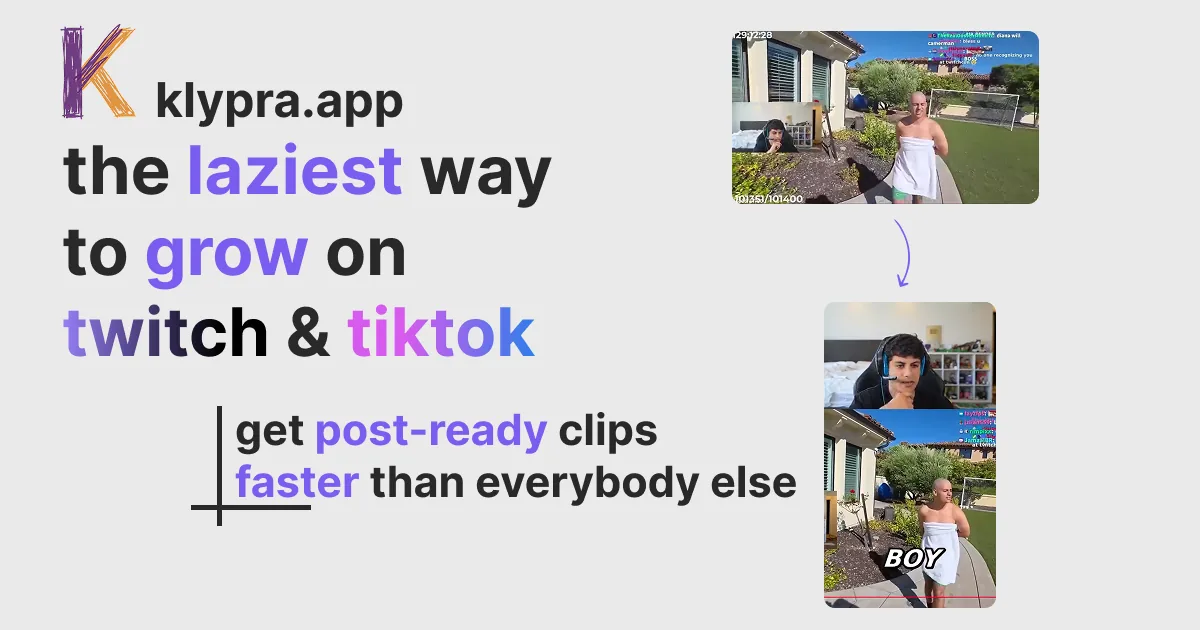
Six steps, no editing software, and nothing to install.
How does automatic Twitch highlight detection work?
klypra connects to a Twitch channel's chat and watches how fast messages are arriving. When the rate jumps well above what that channel normally does, it treats that as the audience reacting to something, cuts the surrounding moment, reframes it, captions it, and sends you the file.
Two consequences follow from that. First, it works on any category, including Just Chatting and IRL, because it is reading the audience rather than the game. Second, it needs an audience: a channel with almost no chat traffic is genuinely hard to clip this way, and no setting fixes that. We compare this approach against the alternatives in real-time vs VOD-based clip generators.
Everything below happens in the browser. There is nothing to install, and your PC does not need to be running once monitoring has started.
Every klypra setting covered in this guide, with its range, default and our recommendation| Setting | Options | Default | Recommendation |
|---|
| Clip threshold | 40 to 90, steps of 5 | 60 | Keep 60 for the first stream, then one step at a time |
|---|
| Format | 9:16 or 16:9 | 9:16 | 9:16 for TikTok, Reels and Shorts |
|---|
| Subtitles | 5 styles, on or off | On, classic style | Leave on |
|---|
| Silence removal | On or off | Off | Turn on, unless pauses carry the joke |
|---|
| Telegram delivery | Your own bot | Off | Connect it, takes about two minutes |
|---|
Step 1: Sign in with Twitch
klypra signs you in through Twitch OAuth, so there is no separate password to create. One click and you are in the dashboard. No credit card is requested at any point in this guide.
Step 2: Add a channel to monitor
Type in a Twitch channel name and add it. It does not have to be your own channel; any public channel works, and the streamer does not need to connect anything on their end. The free plan monitors one channel at a time.
Pick the channel deliberately, because this is the decision that most affects your results. You want steady chat traffic and a category that is not already saturated with clip accounts. The niche finder lists Twitch categories with live viewer numbers and the streamers worth watching in each, and which clipping niche pays the most covers the earnings side of the same decision.
Step 3: Set your clip threshold
The threshold slider runs from 40 to 90 in steps of 5, and it starts at 60. It controls how high a detected moment has to score before it becomes a clip. Lower means more clips of lower average quality. Higher means fewer clips, but the ones you get were bigger moments.
Leave it at 60 for your first stream. Then adjust one step at a time, because the scale is steeper than it looks: going from 60 straight to 85 will often produce nothing at all for an entire broadcast. If you got three clips and wanted six, try 55, not 45.
One thing the slider cannot do is manufacture clips out of a quiet chat. The threshold is applied after a spike has already been detected, so if the chat never spiked, lowering it changes nothing. That distinction is the single most common source of confusion, and it is why choosing an active channel matters more than the threshold.
Step 4: Pick your output format and captions
These are account-wide defaults, and you can override them per channel later.
Format
9:16 vertical for TikTok, Reels and Shorts, or 16:9 horizontal for YouTube and X. If you are clipping to grow a short-form account, vertical is the one you want, and reframing happens automatically rather than leaving you with a letterboxed 16:9 video in a vertical frame.
Subtitles
Burned-in captions are a checkbox, and there are five styles to choose from: classic, highlight, bold, mrbeast and redbox. All five are available on the free plan. Leave captions on unless you have a specific reason not to. A large share of short-form viewing happens with the sound off, and an uncaptioned clip is invisible to those viewers.
Silence removal
An optional pass that trims dead air out of the clip. It usually helps, since the moment chat reacted to is rarely centred perfectly in the window that got cut, but turn it off if you are clipping something where pauses carry the joke.
Step 5: Connect Telegram for instant delivery
This is optional, since clips show up in your dashboard either way. It is worth the two minutes because it removes the checking. You create your own bot rather than joining a shared klypra channel, so your clips land in your private chat and nowhere else. There are four steps in the app:
- Create the bot. Open a chat with BotFather in Telegram and send /newbot. It hands you a token.
- Paste the token. It is stored encrypted and is never sent back to the browser, only a redacted preview of the last four characters is shown.
- Link your chat. Send /start to your new bot, then press "detect chat" in klypra within the next few minutes.
- Send a test message. One button, and you know delivery works before a stream rather than after.
Notification preferences sit on the same page if you want clips but not status updates.
Step 6: Start monitoring
Press start once the channel is live and klypra begins reading chat immediately. Monitoring runs server-side from that point, so you can close the tab, shut the laptop, and clips will still arrive.
Give the detector a couple of minutes before expecting anything. It needs to establish what normal traffic looks like for that channel before it can recognise an abnormal spike, so the opening minutes of a session are calibration rather than detection.
Auto-start, which begins monitoring by itself every time a channel goes live, is part of the paid plan. Paid plans are not purchasable yet, so for now this is a manual press. You can join the waitlist if you want it when it launches.
What should you do if klypra is not producing clips?
Check the chat first. Nearly every setup problem comes down to one of three causes:
No clips after a full stream
The chat was almost certainly too quiet. Detection is relative to each channel's own baseline, so a channel where nobody is typing never produces a spike to score in the first place. This is not a threshold problem and lowering the slider will not help. Try a busier channel and compare.
Too many clips, and most are unremarkable
Raise the threshold one step at a time from 60 to 65 to 70. There is also a short cooldown between clips, so a single long reaction gets cut once rather than four times.
Clips arrive in the dashboard but not on Telegram
Re-run the test message on the Telegram settings page. The usual cause is the chat link never completing, because the "detect chat" step has to happen within a few minutes of sending /start to your bot.
What does the klypra free plan include?
5 clips per day and 50 per month, one channel at a time, 4 hours of monitoring per day (only live analysis counts, reset at midnight UTC), clips kept for 14 days, at 1080p with a watermark. All five subtitle styles are included. There is no trial that expires and no card required, so the honest summary is that the limits are on volume and the watermark, not on the detection itself.
 Founder, klypra – @henri_tmp